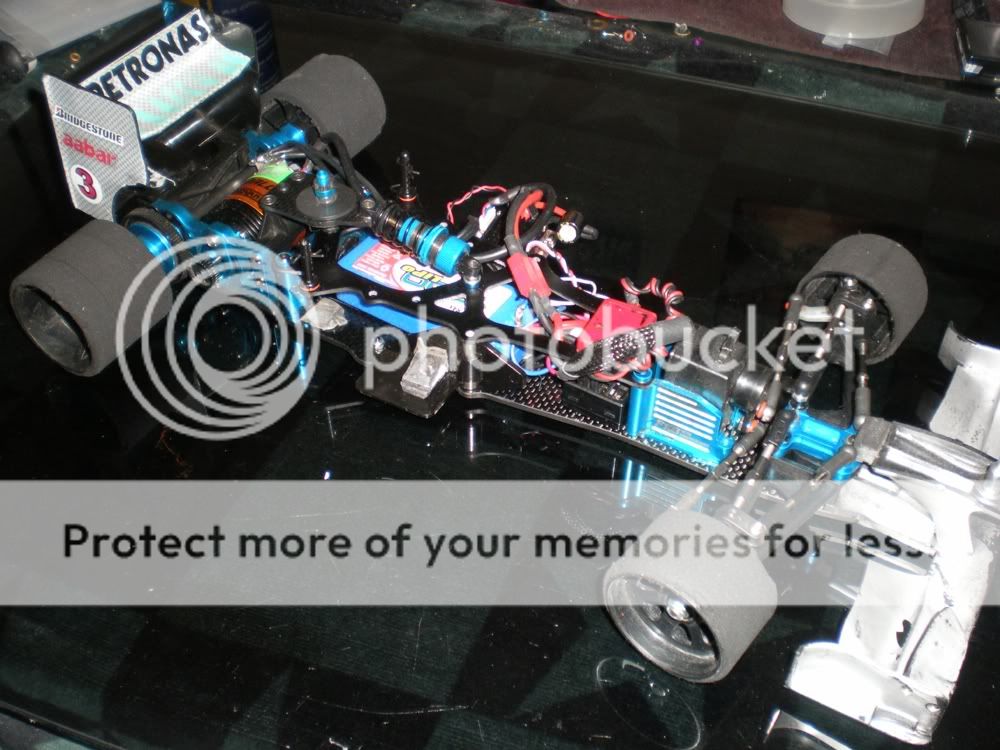
After a few weeks of rubber tire racing, I brought out my foam tire F104 from last winter with a few key modifications. I was being subtly "encouraged" to run foam tire by one of the guys who was running a wide Exotek car on foams, so I thought I would bring my car out with a few things I had been wanting to try out.
I built up a link style front end using a 3Racing lower arm set to start with. You can also use the Tamiya link style lower arm as well, but it is a few millimeters narrower than the 3Racing part. I wanted to go for a wider front end, so 3Racing it was. Luckily, the Tamiya F104 camber plate will fit right on top of either of these arm sets, and it is perfect for the two ballstud locations you will need.

The arrows point to the link locations, The forward link is just a Tamiya ballstud with no spacers. The rear link has 4.5mm of shims to create some active caster effect, and also to create the proper angle as this is the link mainly controlling camber. The front link has more effect on caster, but both links affect each other, and you have to keep an eye on both adjustments as you are setting the front end. 0-.5* camber is a good start, and around 5* caster was good for me. Remember too much caster can make the car want to kind of stop mid corner if your car is soft at the tbar...and this was the case when I first put the car on the track.

Another angle of the front end...you can also see here that I'm using the Tamiya Indy car rims, which are bigger in diameter. They are closer to a 1/10 pan car rim. They are discontinued, but they can be found if you look around. 1/10 donuts work well on the rim, and they also allow the use of the F104 kingpin and ride height spacers. You may be able to see that I used 1.5mm of spacers on top of the arm to keep it fairly level. Moving the spacers under the arm would make the car pick up some camber in roll, and thereby front grip.
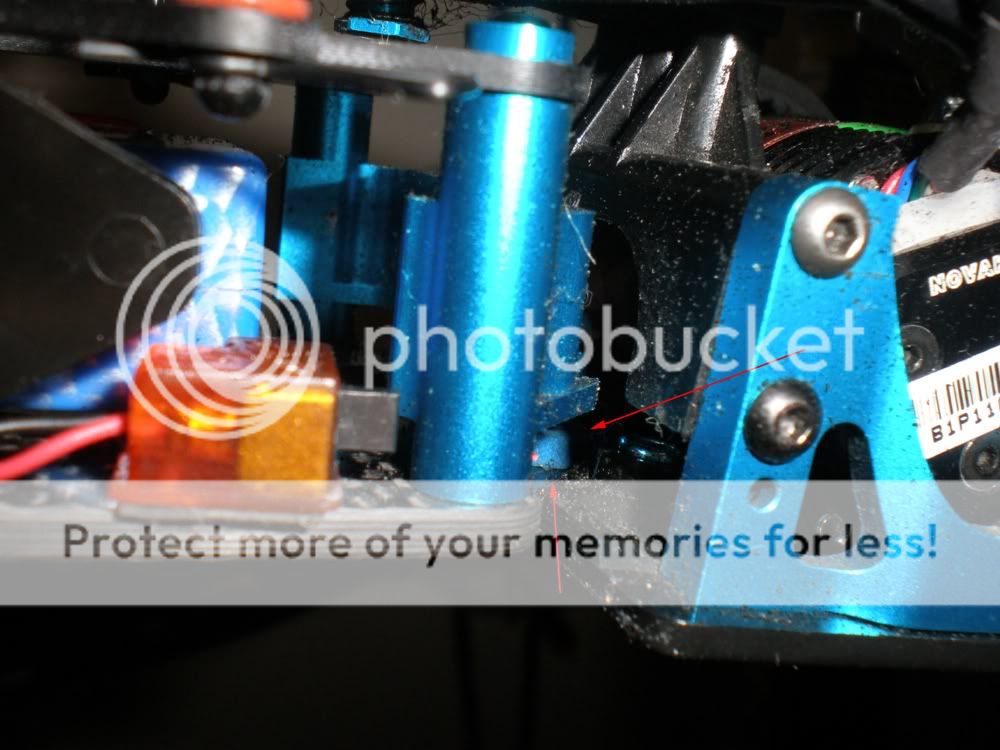
Here the center screw has been removed from the t bar for added flex and grip. Basically, this moves the pivot point of the t bar quite a bit forward. This also gives the car more rotation as it can twist a bit more. The kit stock black t bar is stiffer and works better for foam when you take the screw out of the t bar.
The arrows here point to the foam spacer that I put on the t bar. The foam spacer is glued to the top of the t bar to provide a way to keep the ride height and a pivot point.
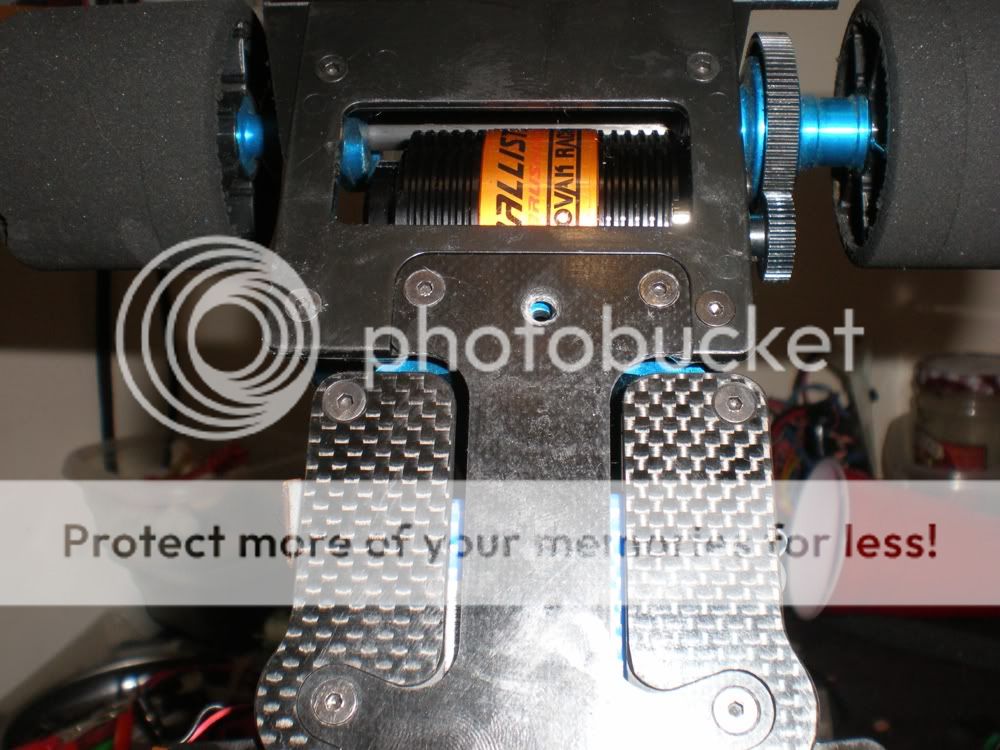
Since I was using an 1800 mAh micro car pack, I moved the receiver to the middle of the car. I wound up with the esc still on the radio tray, so teh arrow shows where I used 1/2 oz. (14g) of lead to re balance the car. You'll also notice the oversize Indy car rim.
I more or less left the car with the setup I used for the Harbor Hobby TCS, outside of the front end and tires. Amazingly, it was extremely quick right away. I did have to take some caster out, but that was about it. It had a ton of grip and steering. The t bar without the screw is a huge factor, and it is the only way I would run the car outside of TCS rules.

Nice conversion. I would like to ask ...
ReplyDeleteWhat motor and gear ratio you are running please?
And how many mAmps was consumed during one round (5 or 6 mins)?
I would like to try same micro battery next carpet race here and don't know if 1800mAh is enough. Thanks!
Novak Ballistic @ 45* timing approximately 67mm rollout
ReplyDeleteTypical battery consumption is 1000-1100 mAh. I have run up to 11 minutes on an 1800 battery.
Oh yes, 21.5 motor...88 spur 37 pinion.
ReplyDelete