Friday, January 25, 2013

V2 build V.2


To continue on with the build up of the V2, there are some options to consider.  One is the use of the damper tube instead of the roll shock or side shock.

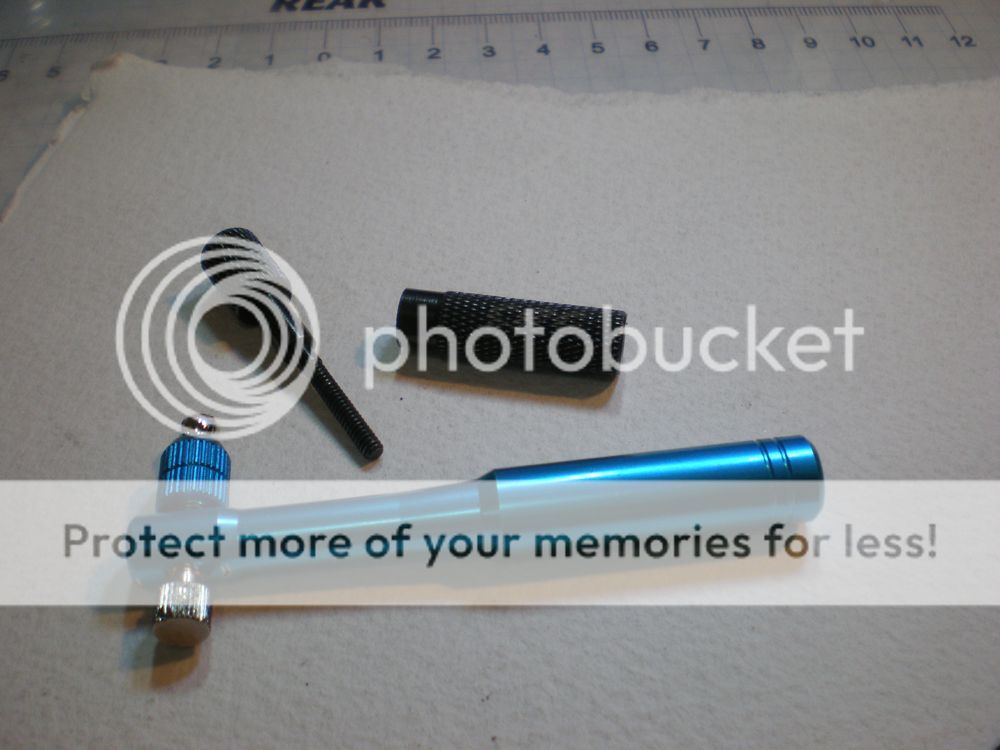
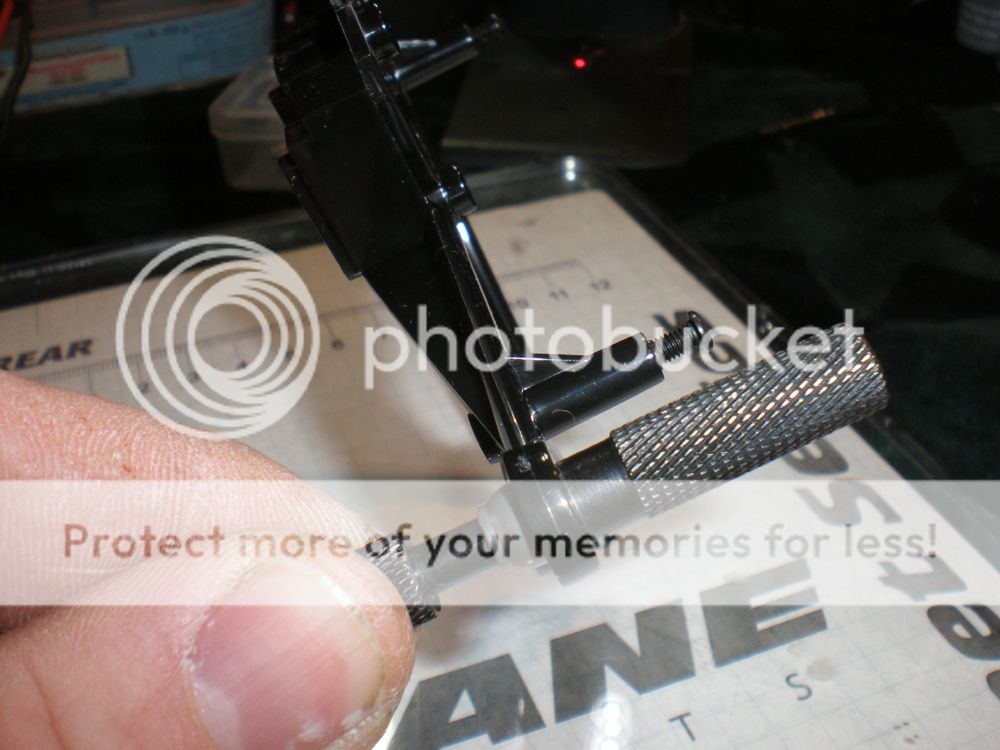
Tamiya sells the 54413 aluminum roll damper, but the delrin version that is included with the X1 kit is virtually the same.  Both are used with many types of grease, from pan car greases to 1/8 diff oils.  I prefer the diff oils since I know what the rating is and they are available everywhere.  There really is nothing wrong with the side shock but it's more work to set up and is a little more maintenance.


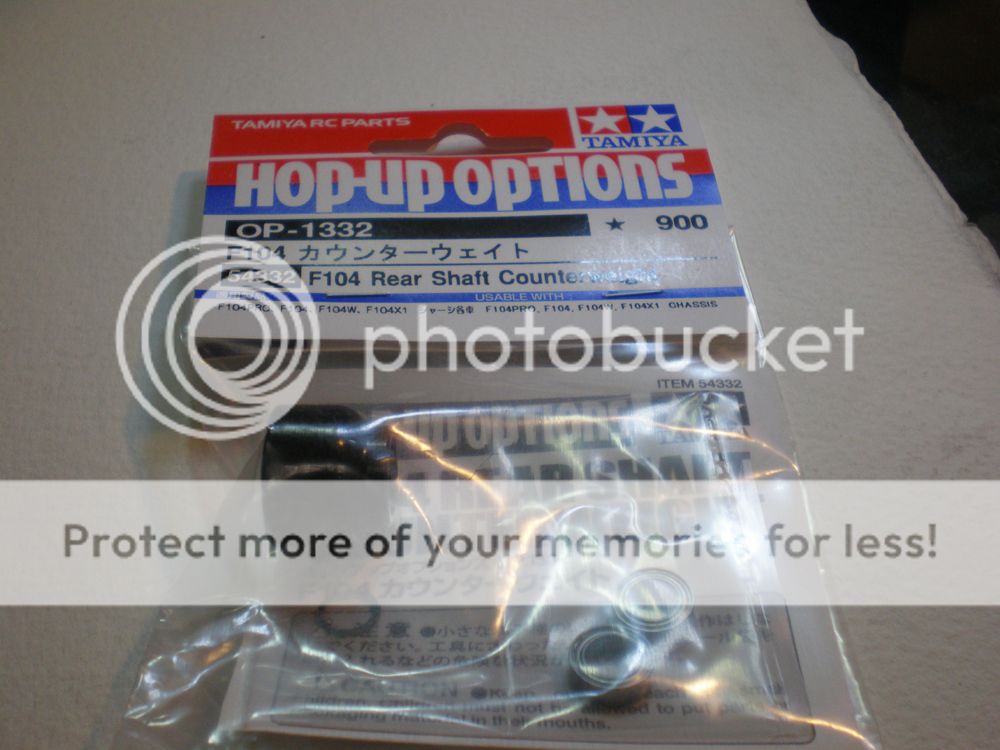
The 54332 Counterweight is also something to consider.  This is another X1 part.  With the older Tamiya tires, I did not notice a big difference with or without the counterweight, and much the same for foam tires.  However, with the new "TCS" tires, the counterweight seems to be a big help.  I find the car drives a lot better, and feels more balanced.  I think part of this is the better grip afforded by the TCS rubber.  With foam the cars are locked down and lighter is better, but the rubber tires need a little more balance when they have some grip.

One thing I did want to warn about was the upper pod brace.  I had been using the carbon piece, which is fine, but you'll notice that there is not a lot of material around the right hand side attachment point.  I also did not glue the edges of the piece.  So I recommend you sand and glue the edges and also try to use something like a countersunk washer to provide a large surface area to hold the part to the pod.  I had just used a button head screw, and rolled the car at some point.  I noticed the end chipped as in the picture.


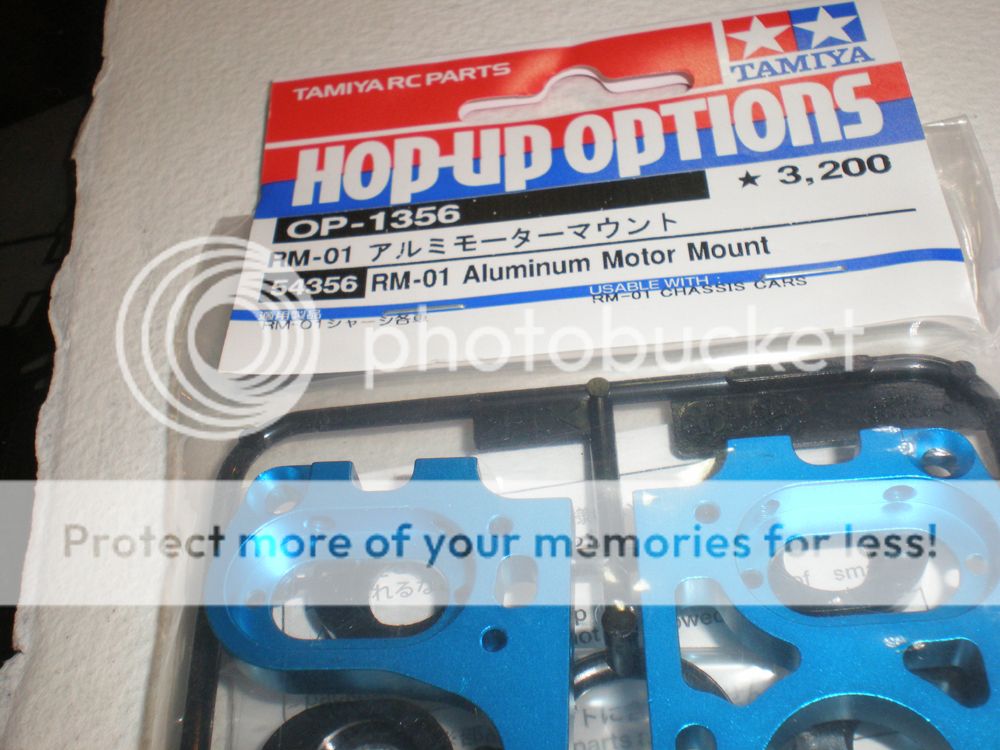
The 54375 carbon brace...Do you need it?  I'm not really convinced you do if you also have the aluminum pod.  The pod comes with an aluminum cross brace anyway, so the carbon fiber is overkill.  It might be good if you ran the plastic pod for some reason.  IF you don't want to use the aluminum cross brace, then it is necessary, but the plastic from the kit is fine with the aluminum pod...


Exotek's 1191 Twist Nuts, basically thumbscrews, are really nice for the V2.  The battery is in and out in a snap and the color is a perfect match.


 The odd ball part here is this doubles sided carpet tape.  A nice rectangular patch on your chassis will keep the battery from moving at all.  It retains it's stick for a long time, so much so that I find it's best to stick your hand to it a few times to kill some of the adhesive before you first put the battery in.  This is great for sedans as well..

That's it for the extra stuff I used on the car, but I'll have some more tips on putting everything together in a bit.  Enjoy Tamiya USA's Fred Medel as he explains the F104V2 setting sheet and what the adjustments do....


Tuesday, January 22, 2013

VBC Flash F1 prototype


http://www.area52.cc/news/3263-vbc-f1-flash04-teaser.html

VBC to introduce a new F1 car...very cool front end setup, especially the steering which should help a lot of the bump steer woes faced by direct linkage cars.

Via Area 52

V2 build V.2 front end


I built a second V2 car so that I could have something fresh, as I have a ton of time on the first car I bought since receiving it.  Along they way I have picked up quite a few things that I thought I'd share as small tips that help make a nicer build on the car.  So lets start with some front end items.

These are a couple nice tools to help with front end assembly.  On top is a CRC suspension ball tool to put in and remove the suspension balls on a 1/12 car, but it also works great on the F104 front end as well.  You won't mangle your suspension balls with a pliers, and it's also much easier to remove the balls from the parts as well. 

On the bottom is a Much More ball cup reamer that I use for the upper suspension arms.  This is better than squeezing the arm with a pliers to free up the suspension.

All you need to do with the CRC tool is thread the two pieces together and it will easily pop the ball into place in the arm.  The lower arm is much the same...

I find the smaller part of the tool fits into the spring recess on the lower ball and pops the ball into the arm nicely.

The two holes that connect to ball studs on the chassis for the upper arm can be easily sized to be free without damaging them using the Much More tool. 

The thumbscrew can be tightened to make the reamer ball more snug on the ball cup or arm in this case.  I like to snug it and then go a 1/2 turn or so more before spinning the tool to ream out the arm.  This will probably vary a little with each example of this type of tool.  I believe that they are also sold under different names for use with helicopters, so any sort of good r/c hobby store should be able to get you a ball cup reamer.

Team Durango TD701001 droop screws are great for the front end.  They feature a 1.5mm hex on each end  so you can drive them from either side, and the flat upper end keeps them from digging into the upper arm, which a normal droop screw will do.  This can change your droop setting if you are not careful.

It's easy to drive them in from the top, and adjust from the bottom once the front end is fully assembled. 
It also can be helpful to partially thread the arm from the bottom with a 3mm tap.

Finished product.....

I also like these Yeah Racing 4mm hex flat head screws for the front end.  It seems very easy to strip the soft aluminum phillips screws that come with the kit.  Several companies offer similar screws, including Exotek.

The Tamiya 84171 C rings are also a must have for the bottom of the king pins.  They have more surface area for the spring to ride on, and they also are easy to get on and off the kingpin with a jeweler's flat blade screw driver.

I like to mount the ball hex nut style ball studs on the camber plate with a 12mm or so grub screw.  This way I have a lot of thread to assure strength, and also a lot of room for shimming and adjustment.  Just make sure you use some thread lock.  In fact, you should use at least a sparing amount of thread lock on all your metal to metal connections on an F104 with rubber tires.  I find rubber tires tend to vibrate more and loosen up the screws and nuts on the car.


An example of how the partially and fully assembled part looks.

That's it for now, we'll get into the rest a bit later.